

This month Susy walks us through a fermentation workshop with our Greencare Volunteers. Our wonderful Greencare assistant Lou stepped up to the challenge, leading us through the process of making sauerkraut.
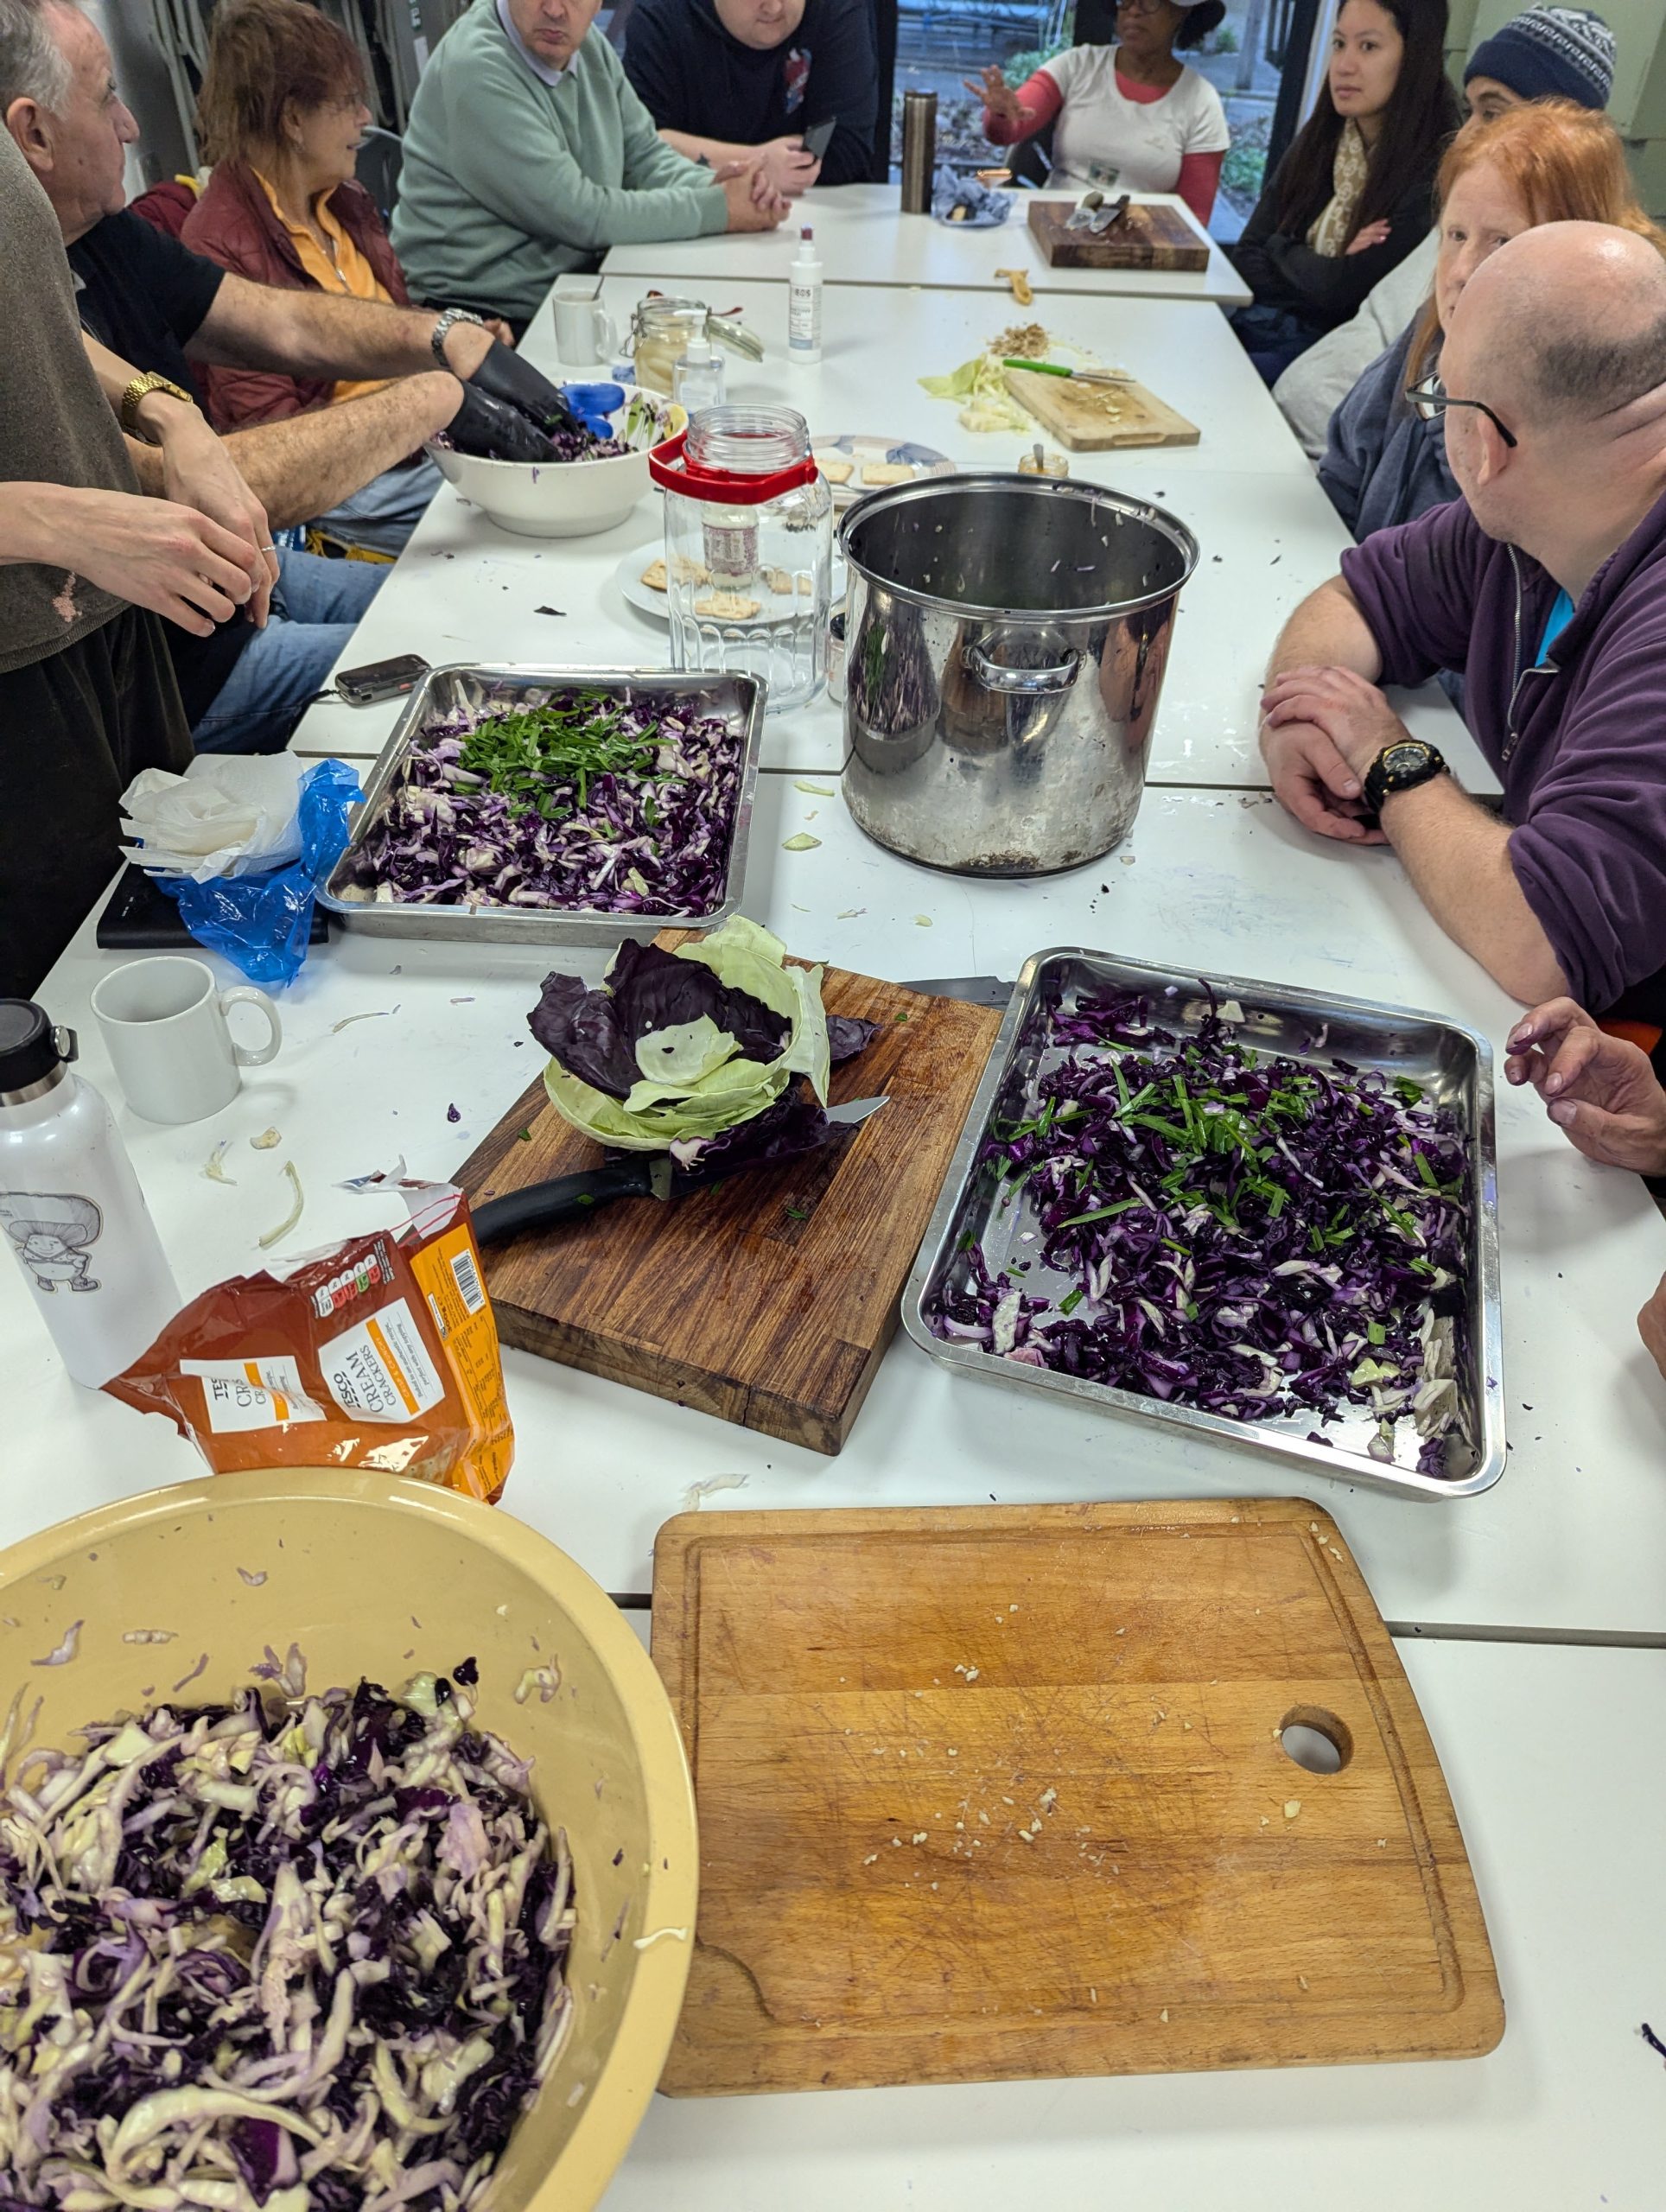
Before starting, Lou talked us through the basics of fermentation, explaining that fermentation is an ancient technique of preserving food, that is used to produce foods like wine, cheese, sauerkraut, yogurt, and kombucha. She explained that fermented foods are rich in beneficial probiotics and have been associated with a range of health benefits – from better digestion to stronger immunity. This is because fermented foods support the human microbiome – the complex microbial ecosystem that lives in the human gut, consisting of approximately 1 kg of bacteria in the average adult. Basically, fermentation is a way of making food more delicious, more nutritious, and more stable for storage. Despite all the scientific information about our microbiome, it’s actually pretty straightforward to make.
As fermentation revivialist Sandor Katz @sandorkraut explains:
“Although fermentation takes time, it’s not active time, I would say to anyone who has a really busy life and feels like they end up eating meals on the run, that having a jar of sauerkraut fermenting in your kitchen will take you ten minutes: Chop up the vegetables and salt them. And then for weeks you can have this really nutrition-packed embellishment that you can put on your meals on the run. When you’re eating a quesadilla or a piece of bread with cheese, you can add a vitamin and probiotic rich kraut to that.”
Now, with us having understood the basics of fermentation, Lou turned to the next part of the workshop – making sauerkraut. Sauerkraut is a fermented cabbage, that is really easy to make. Here’s the recipe we followed:
*********************
RECIPE FROM SANDOR KATZ
Timeframe
3 days to 3 months (and beyond)
Vessel
1 litre jar with wide mouth (sterilised by washing with hot soapy water)
Ingredients
1kg of red cabbage
1 tbsp salt
We also added a little bit of freshly chopped ginger, but you can add other spices such as caraway seeds, juniper berries, dill, chili peppers, ginger, turmeric, or whatever you can conjure in your imagination.
Prepare the vegetables
Remove the outer leaves of the cabbage and reserve. Chop or grate all vegetables into a bowl. The purpose of this is to expose surface area in order to pull water out of the vegetables, so that they can be submerged under their own juices. The finer the veggies are shredded, the easier it is to get juices out, but fineness or coarseness can vary with excellent results.
Salt and season
Salt the vegetables lightly and add seasonings as you chop. Sauerkraut does not require heavy salting. Taste after the next step and add more salt or seasonings, if desired. It is always easier to add salt than to remove it.
Squeeze
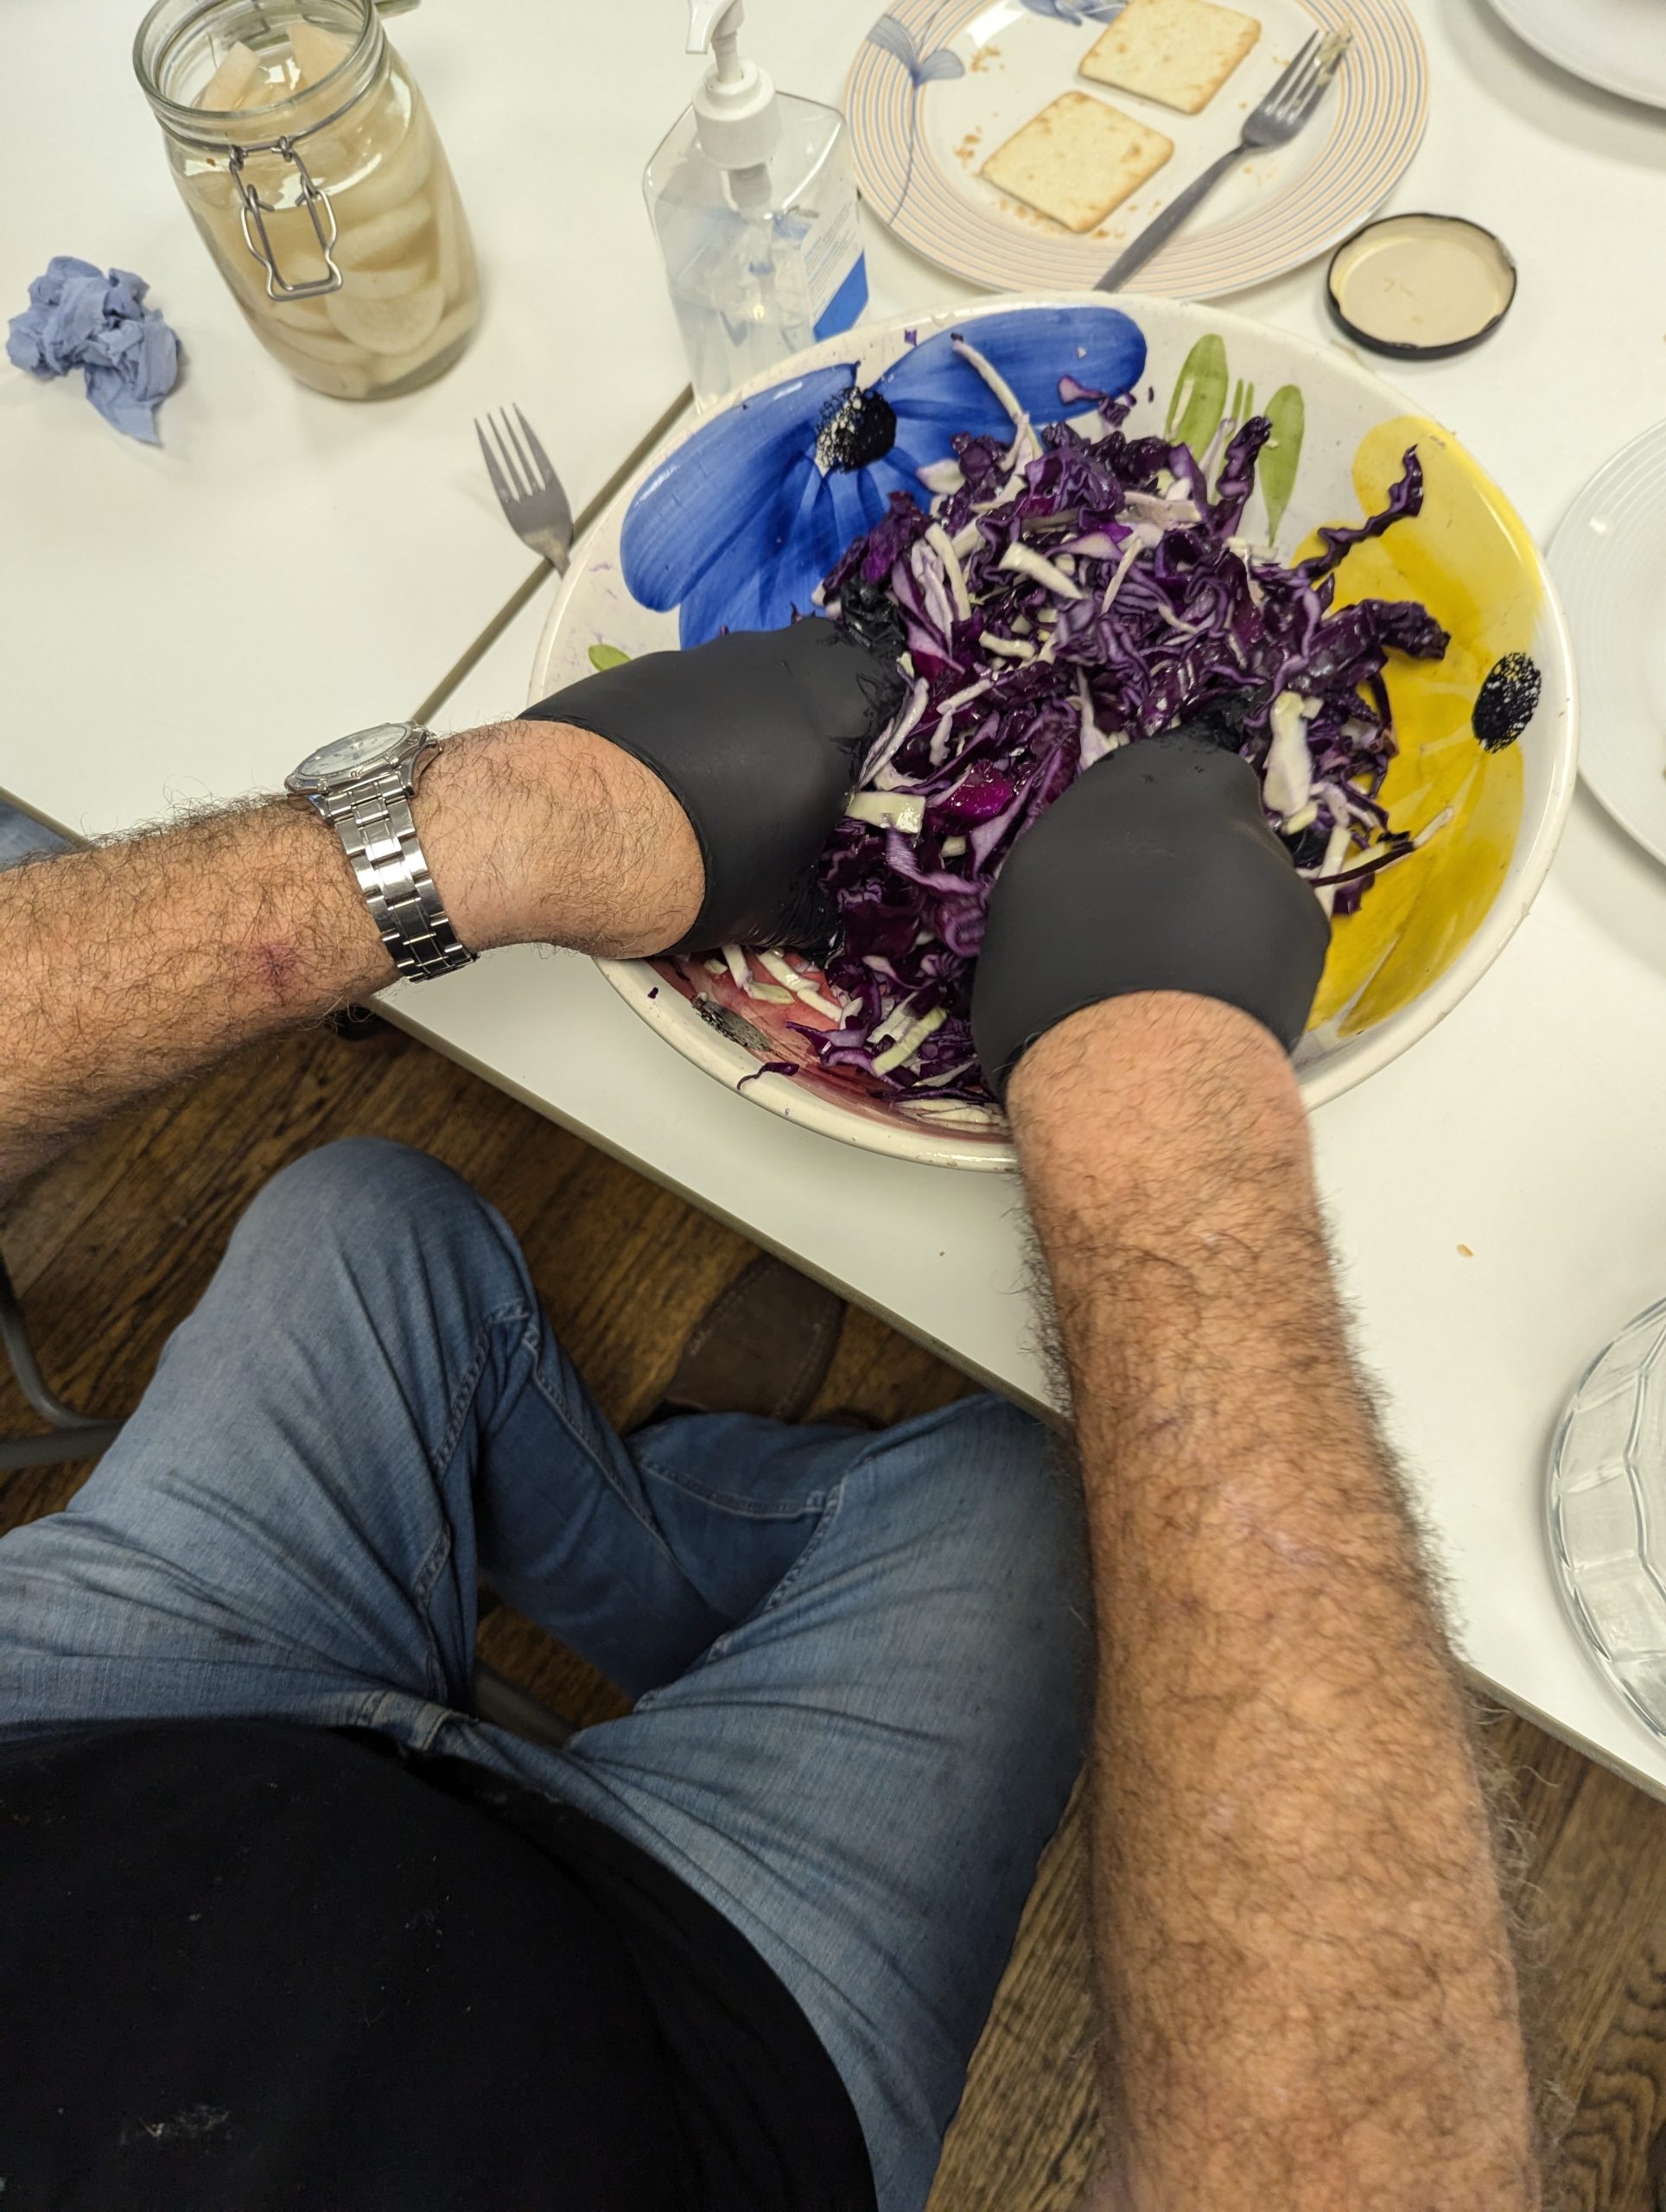
Squeeze the salted vegetables with your hands for a few minutes (or pound with a blunt tool). This bruises the vegetables, breaking down cell walls and enabling them to release their juices. Squeeze until you can pick up a handful and when you squeeze, juice releases.
Pack
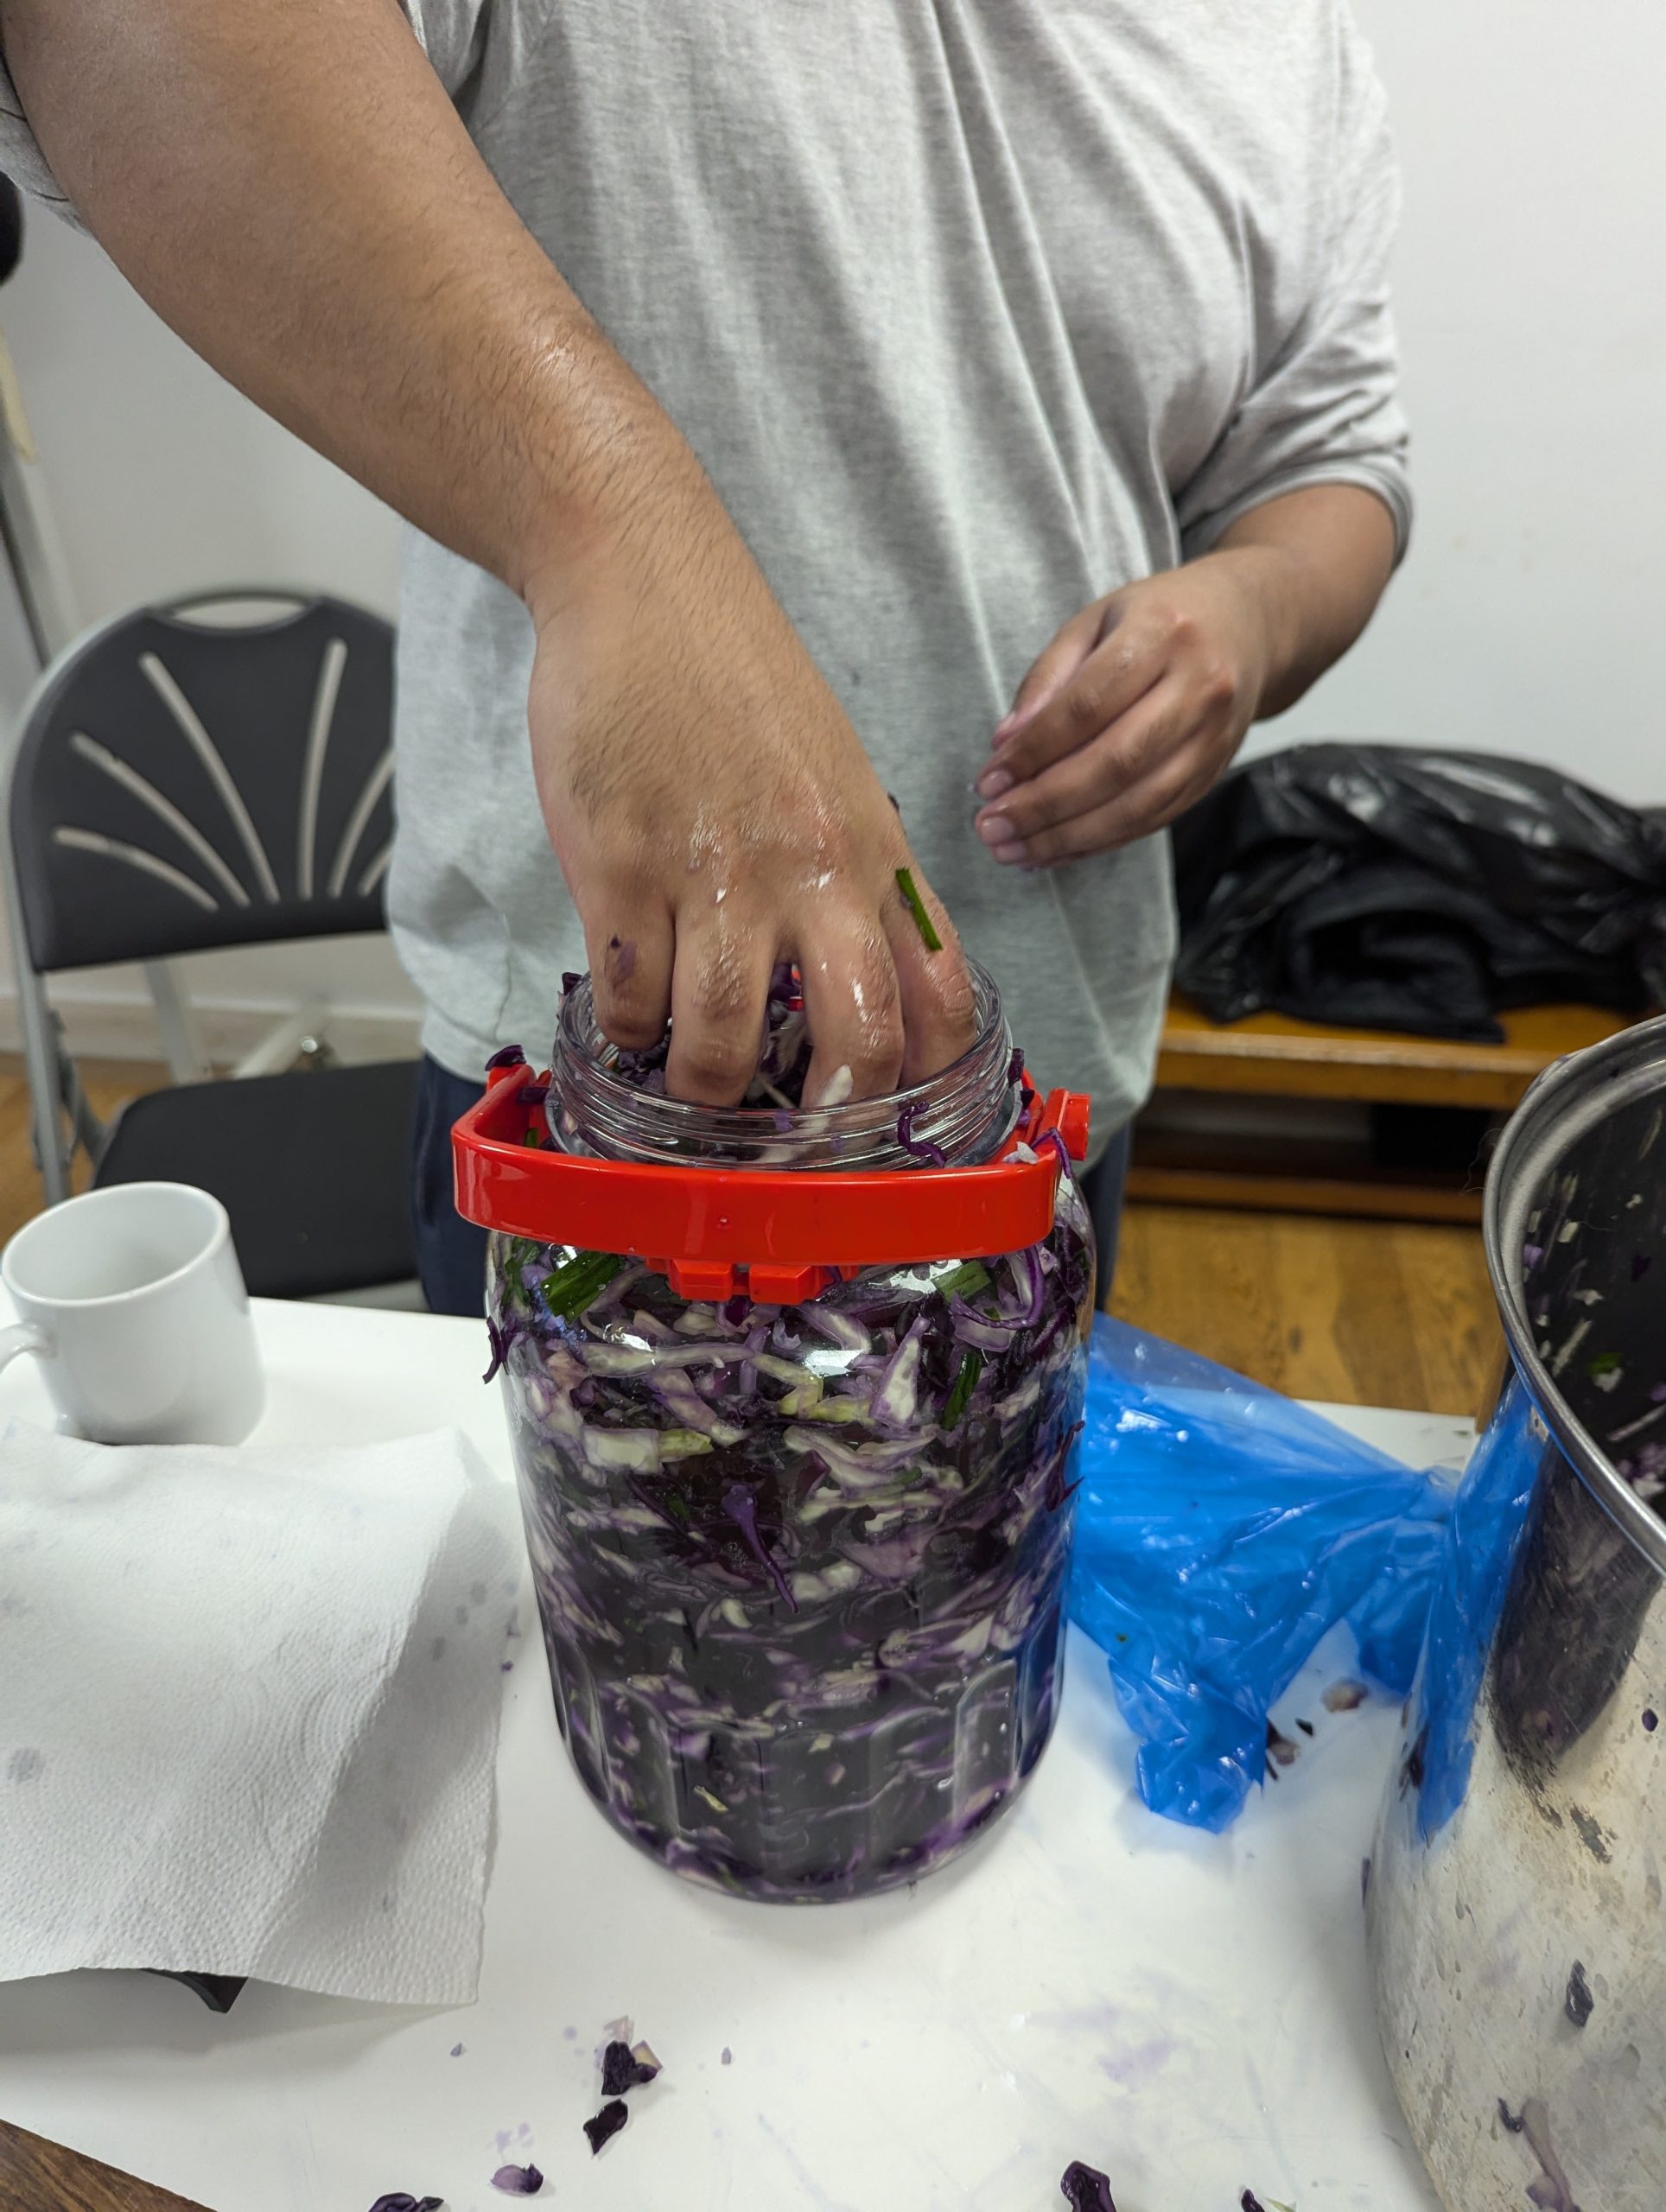
Pack the salted and squeezed vegetables into your jar. Press the vegetables down with force, using your fingers or a blunt tool, so that air pockets are expelled and juice rises up and over the vegetables. Fill the jar not quite all the way to the top, leaving a little space for expansion. The vegetables have a tendency to float to the top of the brine, so it’s best to keep them pressed down, using one of the cabbage outer leaves, folded to fit inside the jar, or a carved chunk of a root vegetable, or a small glass or ceramic insert. Screw the top on the jar; lactic acid bacteria are anaerobic and do not need oxygen (though they can function in the presence of oxygen). However, be aware that fermentation produces carbon dioxide, so pressure will build up in the jar and needs to be released daily, especially the first few days when fermentation will be most vigorous.
Wait
Be sure to loosen the top to relieve pressure each day for the first few days. The rate of fermentation will be faster in a warm environment, slower in a cool one. Some people prefer their krauts lightly fermented for just a few days. Others prefer a stronger, more acidic flavour that develops over weeks or months. Taste after just a few days, then a few days later, and at regular intervals to discover what you prefer. Along with the flavour, the texture changes over time, beginning crunchy and gradually softening. Move to the refrigerator if you wish to stop (or rather slow) the fermentation. In a cool environment, kraut can continue fermenting slowly for months. In the summer or in a heated room, its life cycle is more rapid; eventually it can become soft and mushy.
And finally, the most common problem that people encounter in fermenting vegetables is surface growth of yeasts and/or moulds, facilitated by oxygen. It’s a surface phenomenon, a result of contact with the air. If you should encounter surface growth, remove it well, along with any discoloured or soft kraut from the top layer, and discard.
********************
A month or so later, we cracked open the kraut and shared it among our Greencare group. Here’s our volunteers Daniel and Elaine enjoying the kraut!
